![]()
10415 172nd St. E., Hangar A1
Puyallup, WA 98374
office (253)770-9964
or (253)770-0120
email: avstarair@att.net
891JH Update #7
Corrosion control and assembly work
Note: To decrease your download time we have made these pictures thumbnails. Just click on any picture to see a larger version of it.
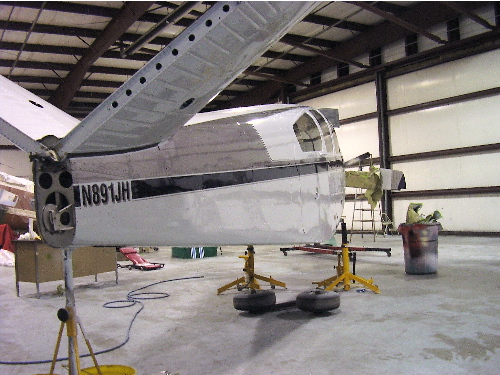
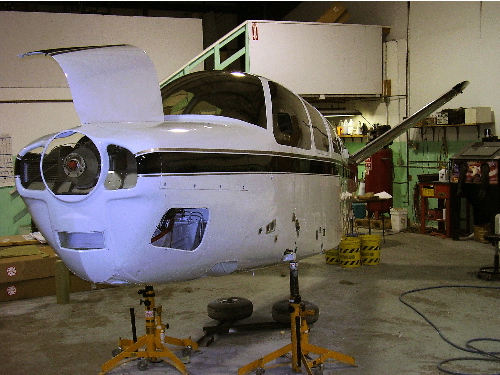
As we are aware, the primary purpose of paint is to protect the metal, basically corrosion control - right? so, after yet more cleaning, the parts are prepped and finally readied for paint. After a good coat of epoxy primer, the overall color is applied to the fuselage, lower and inboard wing surfaces, and tail surfaces, including ruddervators that were repaired with all new parts (except the serial number plates). New root seals were fit to the stabilizers; then the stabilizers installed with new hardware, and ruddervators hung.
Several rolls of masking tape later, a stripe scheme was devised. The layout tape was then replaced with fine-line tape in preparation for the stripes. Ruddervators removed, final mask and trim colors applied. 'Parts' brought back to the assembly area.
Gotta love it when a plan comes together!
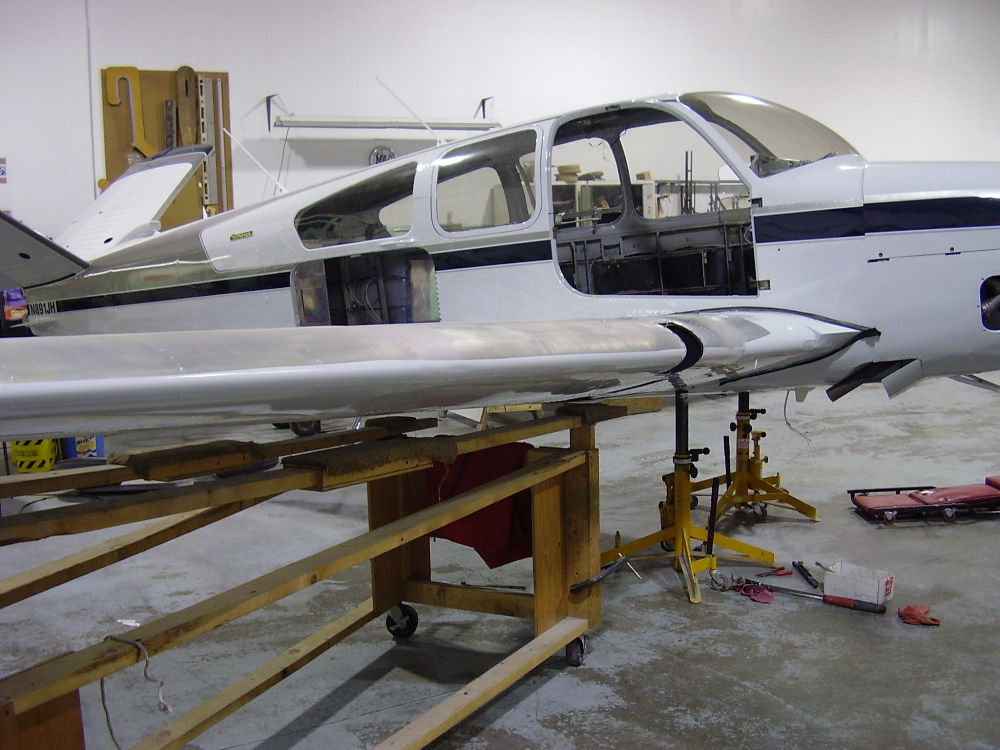
Having painted the bottoms and inboard ends of the wings, new seals were installed and the wings were mated with new hardware.
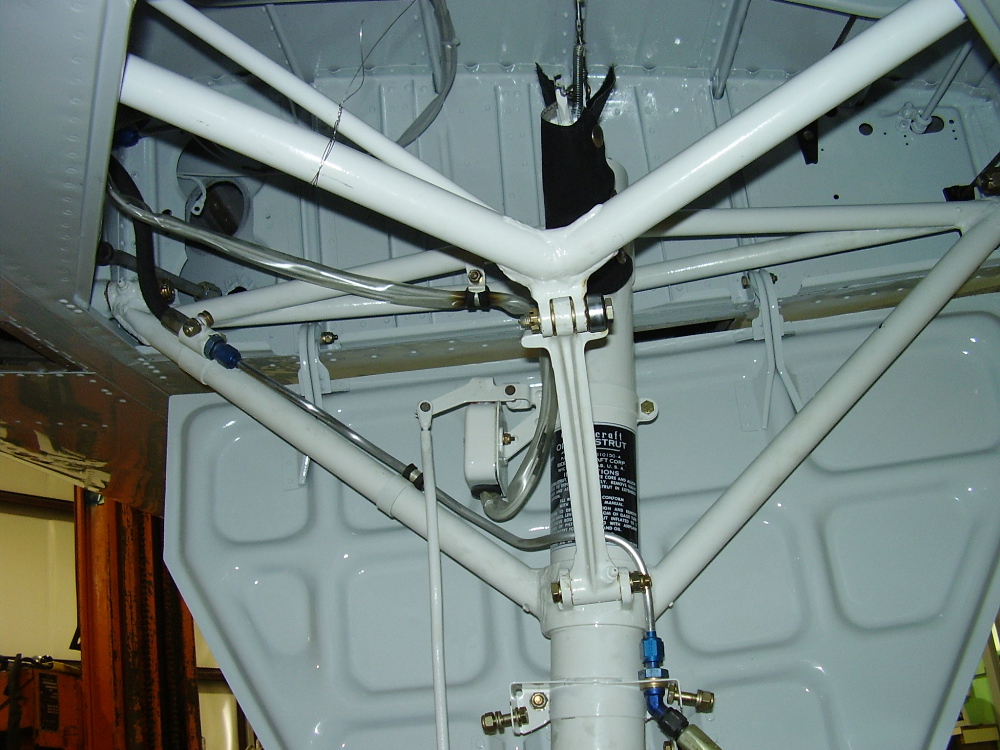
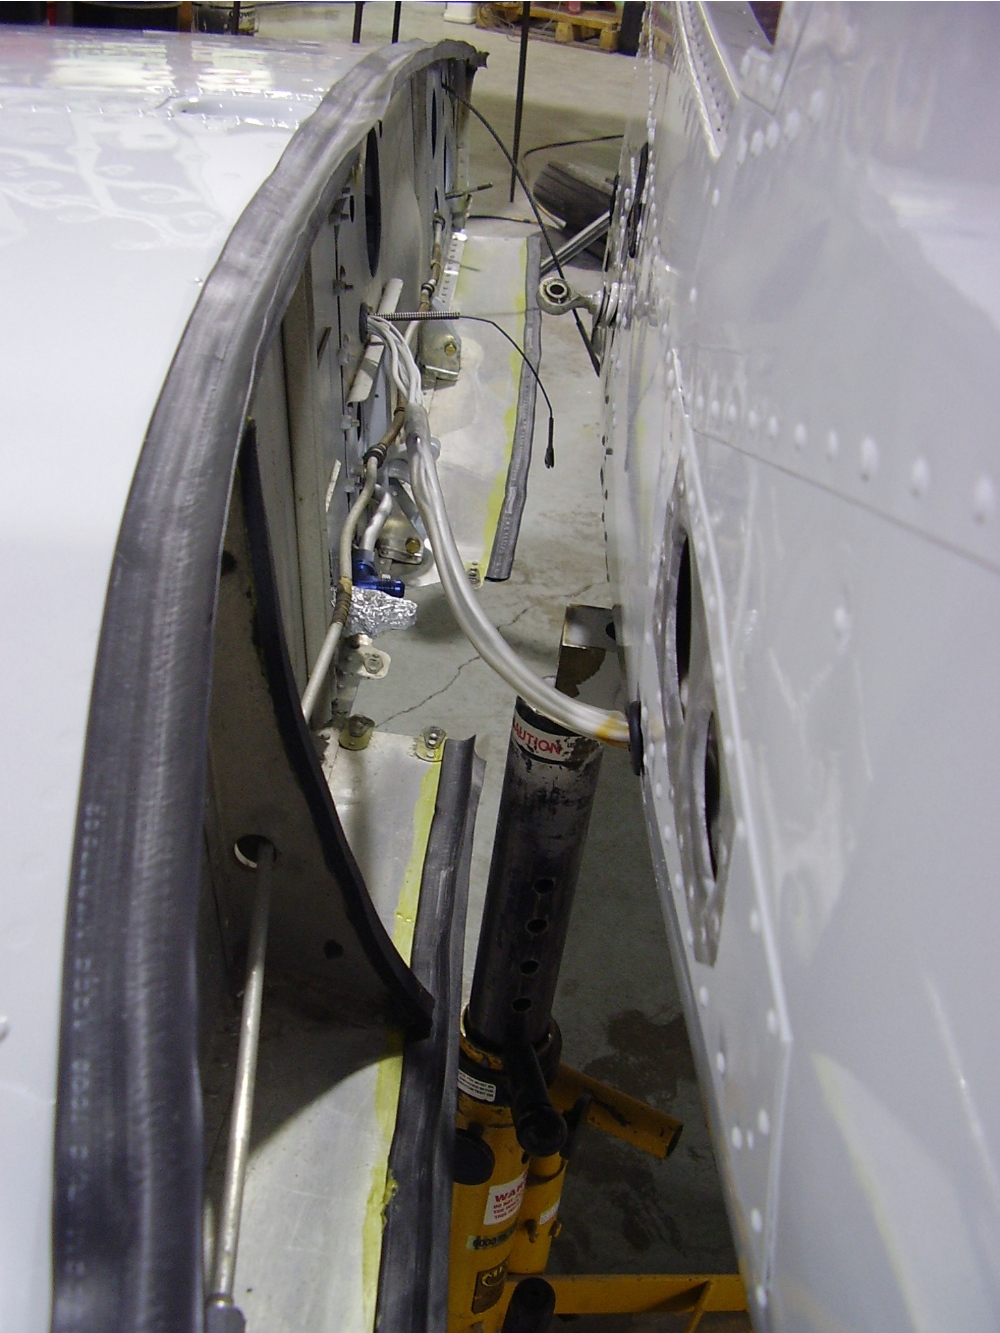
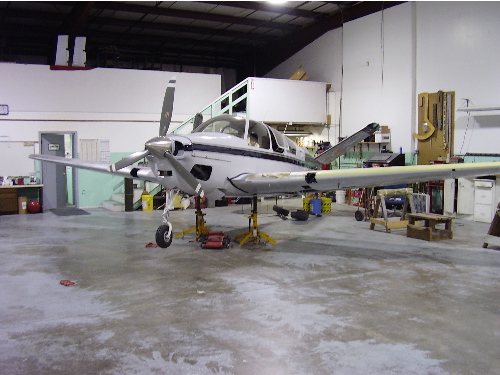
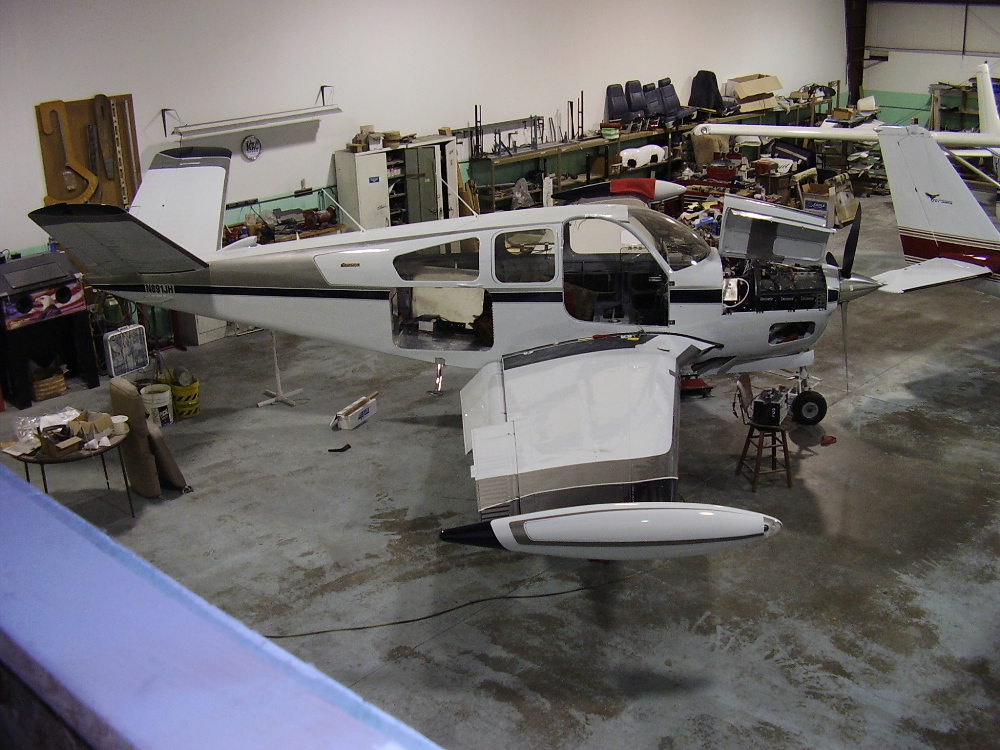
Landing gear was installed, all wing to fuselage connections completed and landing gear rigged.

Good to see her on her own feet, 25 years later.
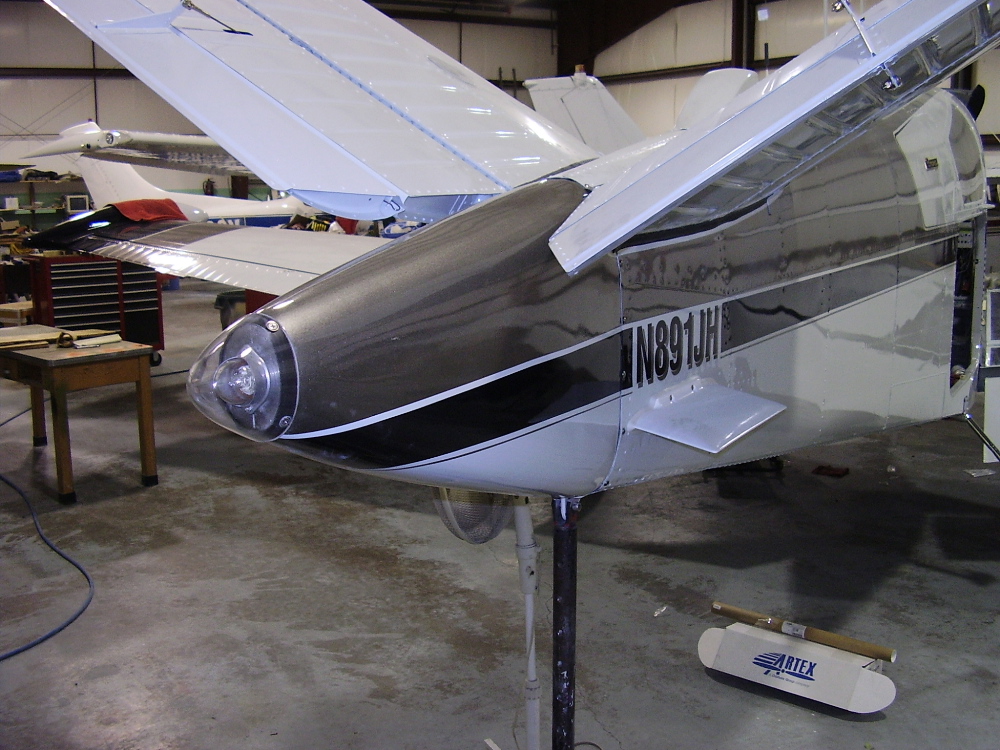
Back to the paint shop; after the primary color was applied to the tips, ailerons and the top of the wings, the stripe scheme was taped and applied.


The tip stripes are similar, but enough different to the fuselage to complement.
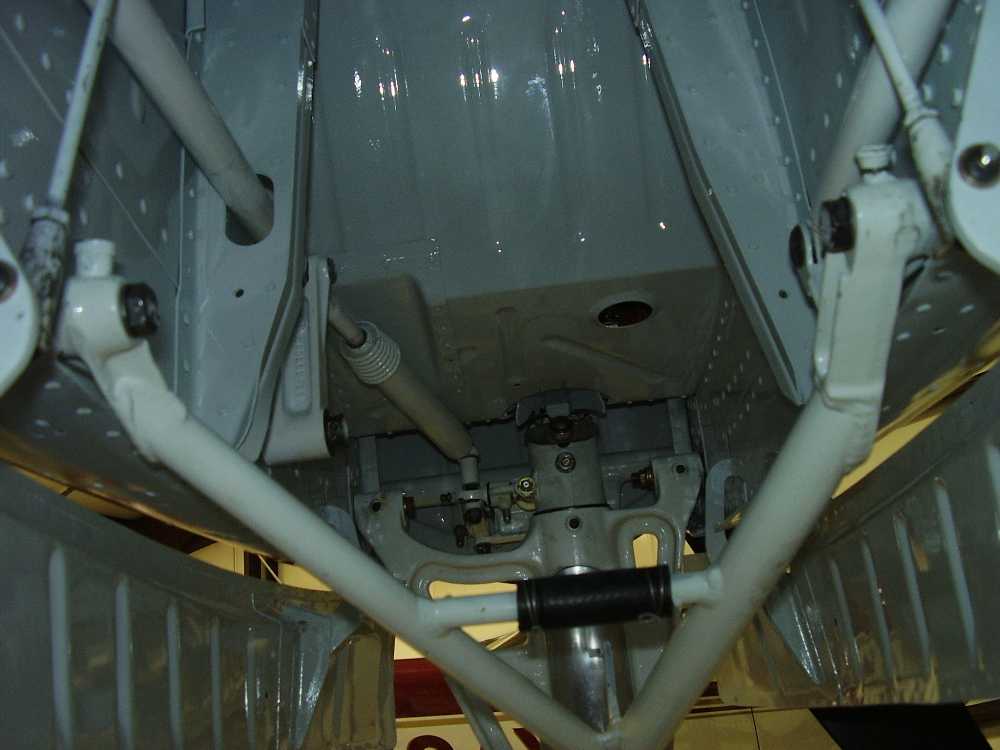
The ruddervators and ailerons were static balanced, then installed. Flaps were installed, all control systems rigged to spec.

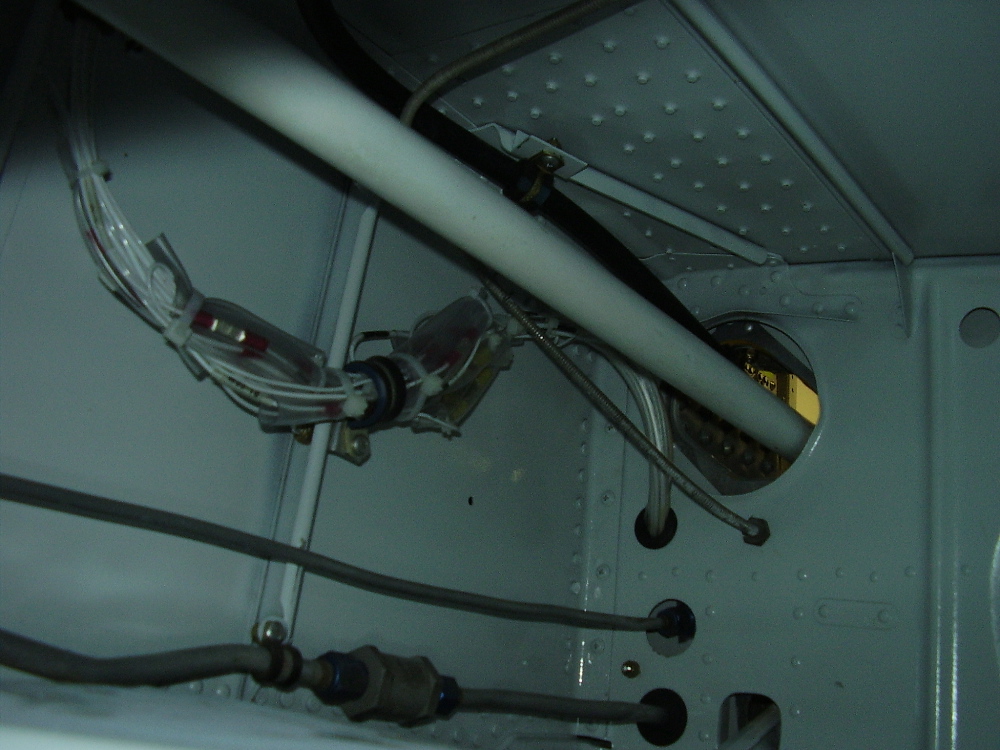
It's all in the details.