![]()
10415 172nd St. E., Hangar A1
Puyallup, WA 98374
office (253)770-9964
or (253)770-0120
email: avstarair@att.net
This time we tackle some work to the wings and the aircraft electrical system.
891JH Update #6
Note: To decrease your download time we have made these pictures thumbnails. Just click on any picture to see a larger version of it. Use your browsers back button to return.
The wings that came with the aircraft were basically scrap from abuse, as the airplane had been apart since 1983.
We found a replacement right wing shortly after the project started, but there were a few dings in some skins that needed clean up.

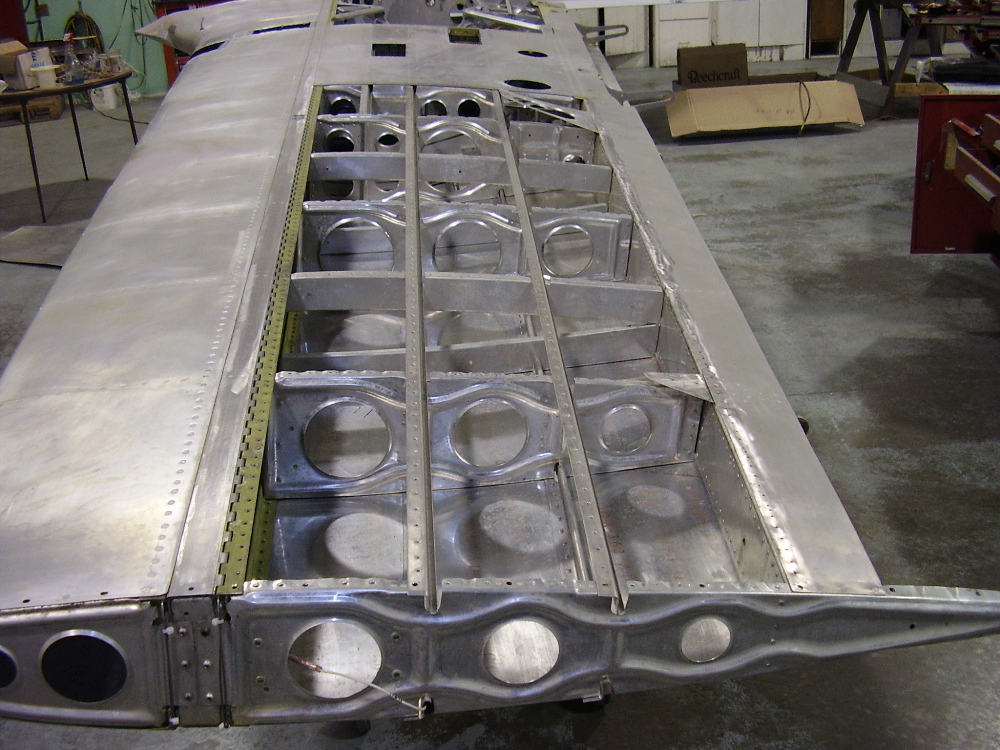
The left wing was another story. After a couple of years of searching, we found this one in Oklahoma. Long story short, this wing had problems; poor (hidden) previous repairs, and a trucking company that let a fork-lift driver have his way with it. We replaced two leading edge skins, the lower outboard box-section skin, added a couple of flush patches and a new spar; finally had something useful!
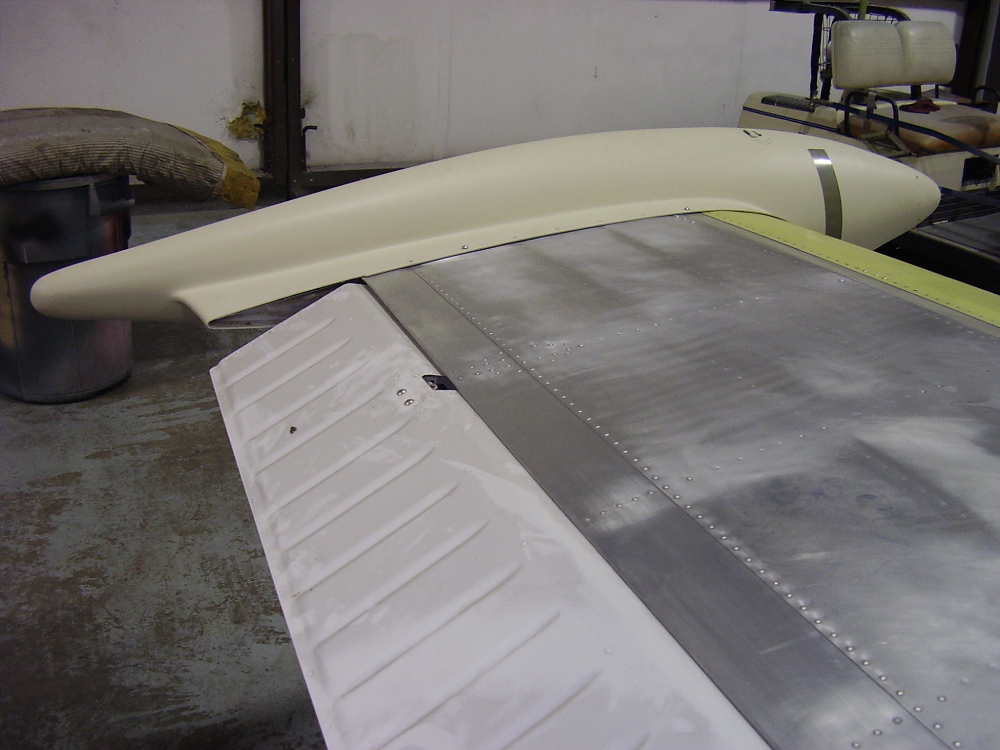
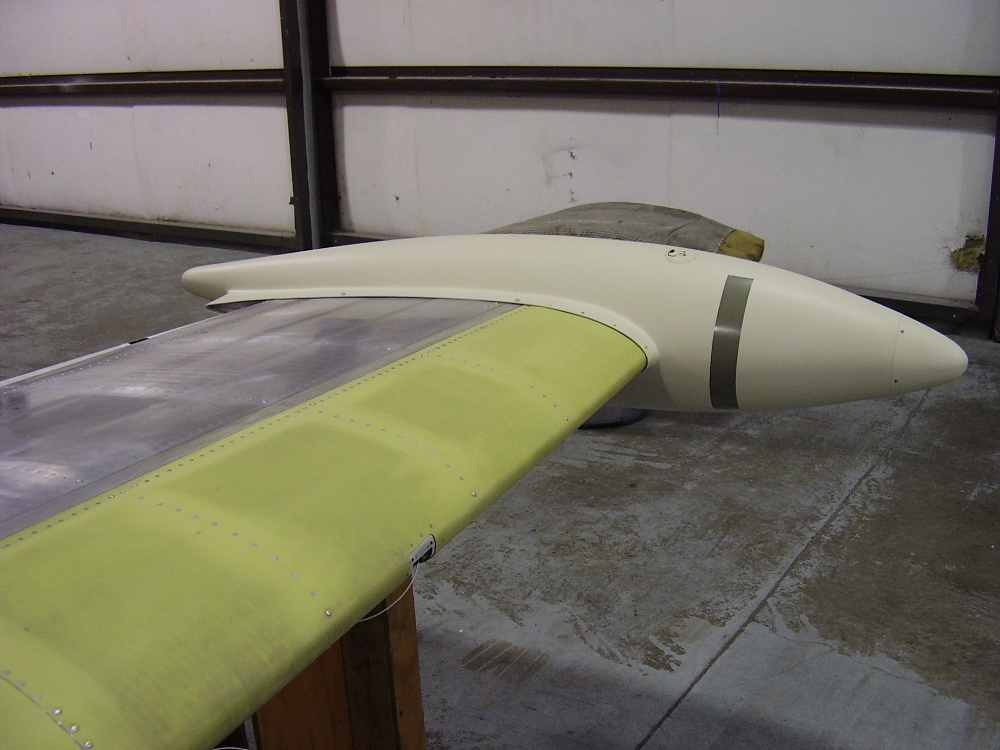
After the metal work was completed, the D'Shannon Tip Tanks were fit.
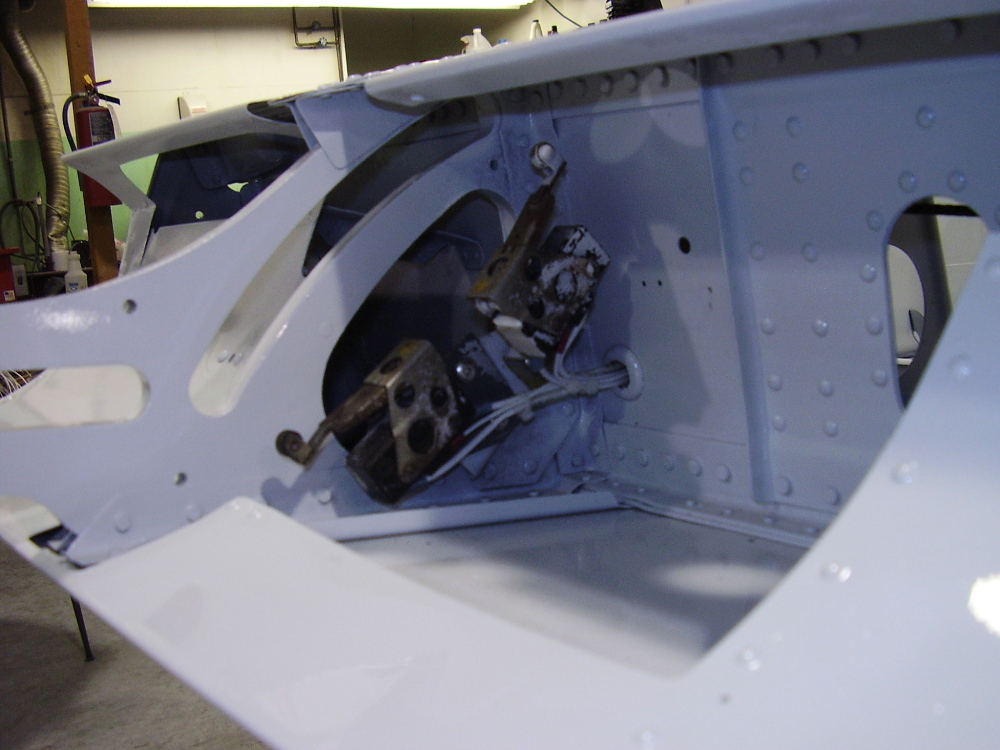

Wings were once again cleaned. We decided to paint the bottom surface and gear wells prior to installation; these were done when the fuselage was painted. Then retract parts, fuel and brake lines, and new wiring was installed.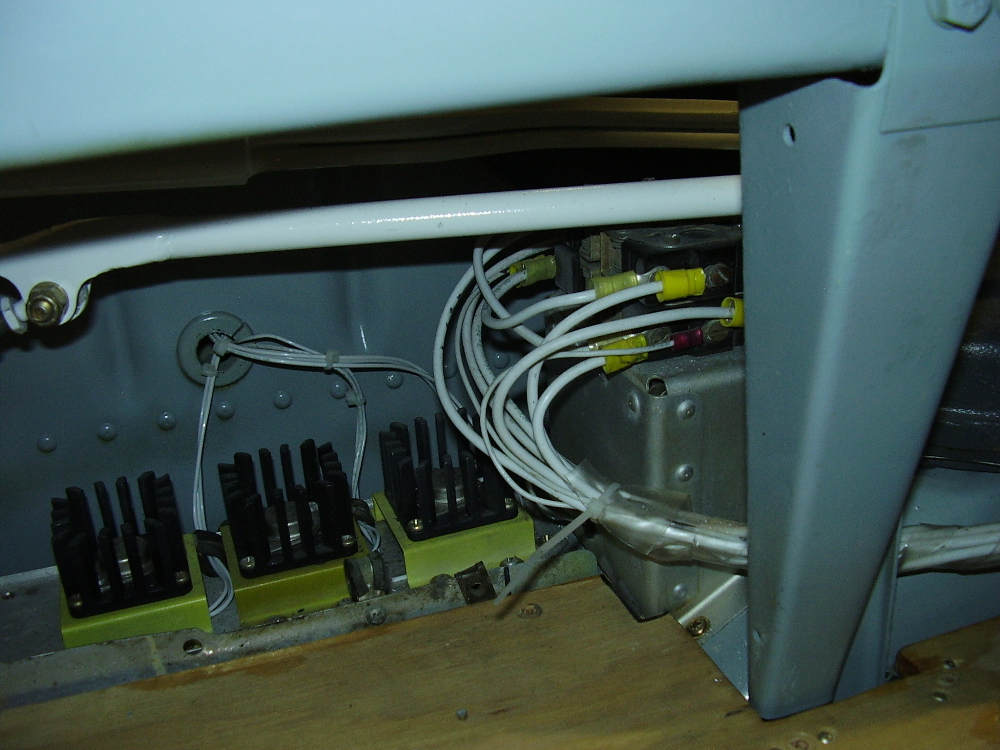
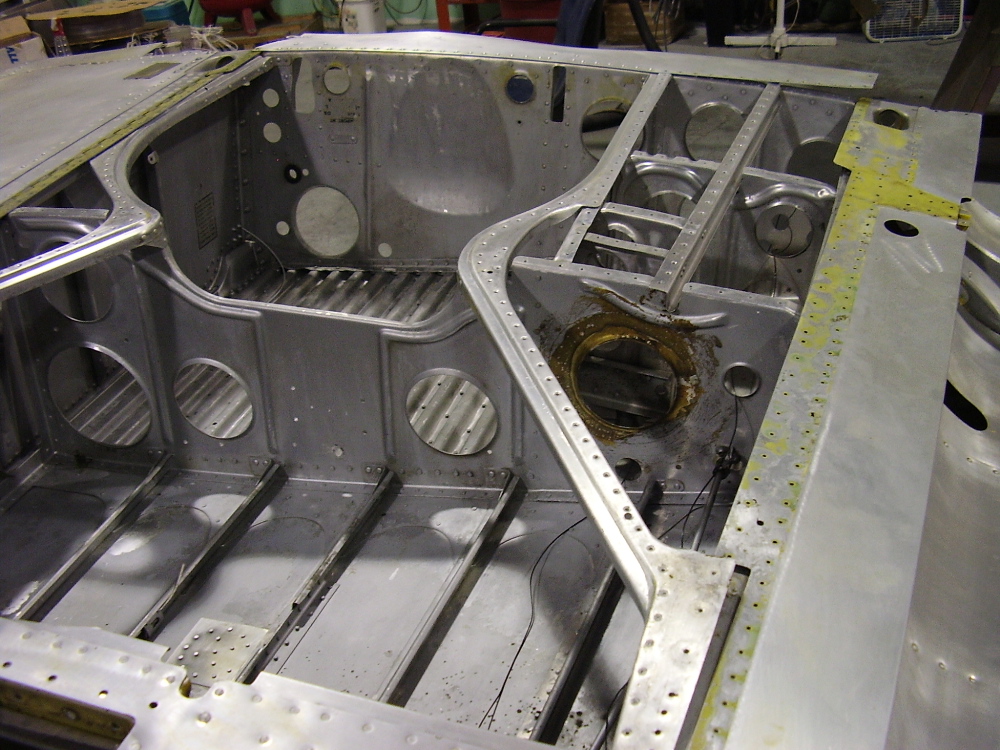
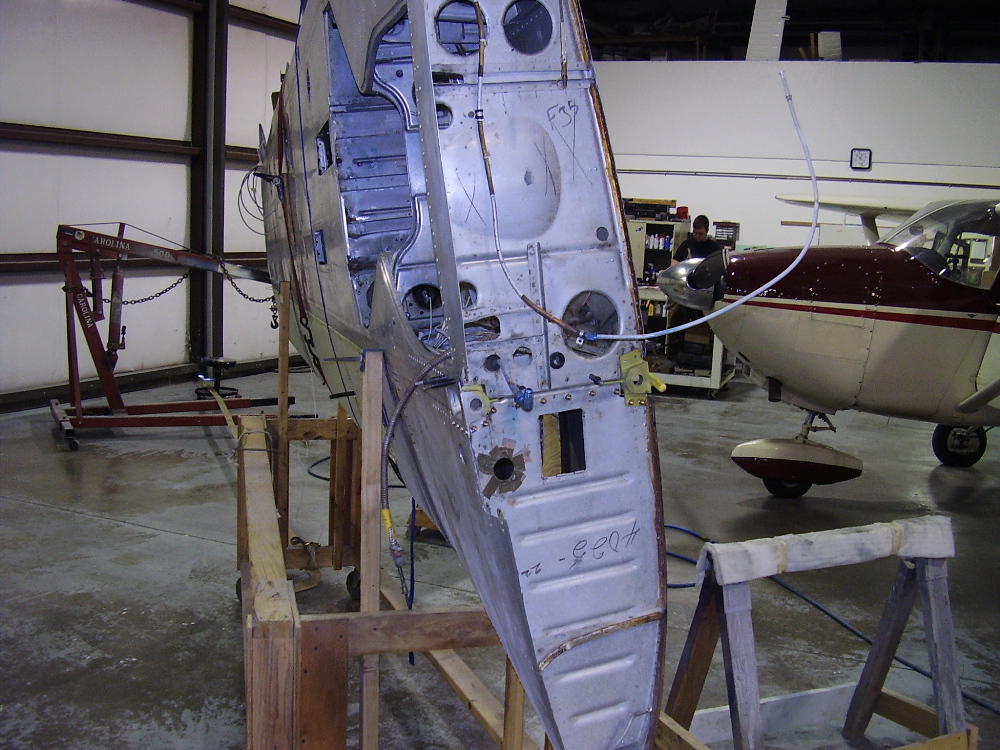
The fuselage had very little electrical wire installed when it was obtained. What remained was of unknown quality, so it was stripped out and completely rewired. The instrument panel installation instructions call for reusing 50 year old switches; we thought better of that and installed all new switches and circuit breakers.
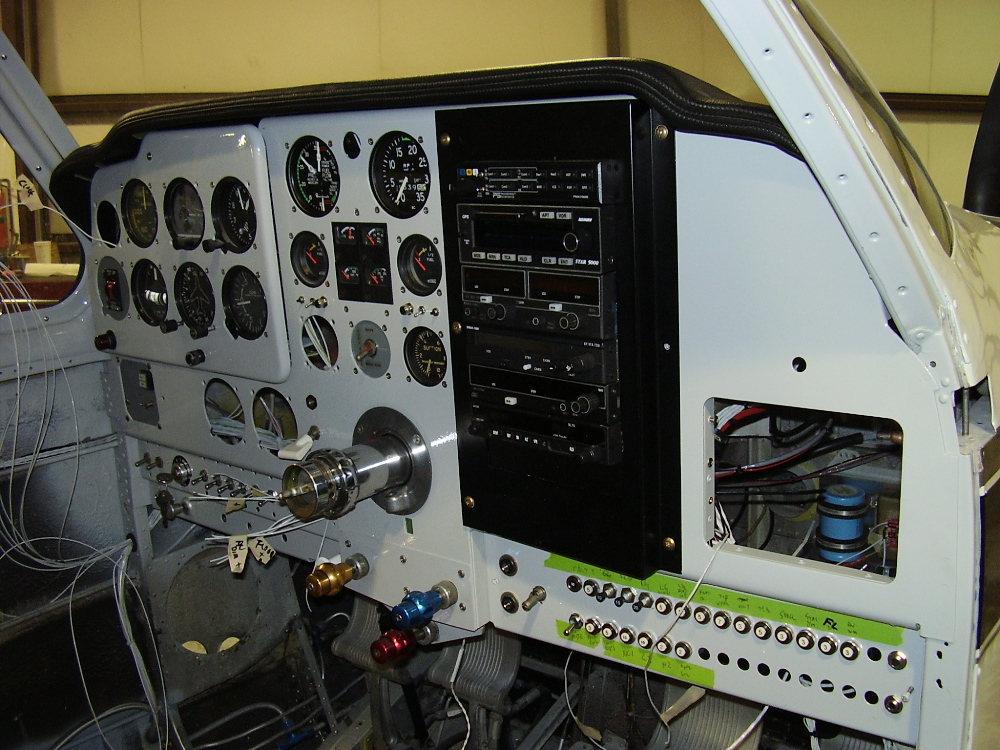
Instruments, switches, and circuit breakers were placed, and the task of wiring began. The radios were sent to Spencer Avionics and wired/interfaced together, then installed as a unit to the aircraft.
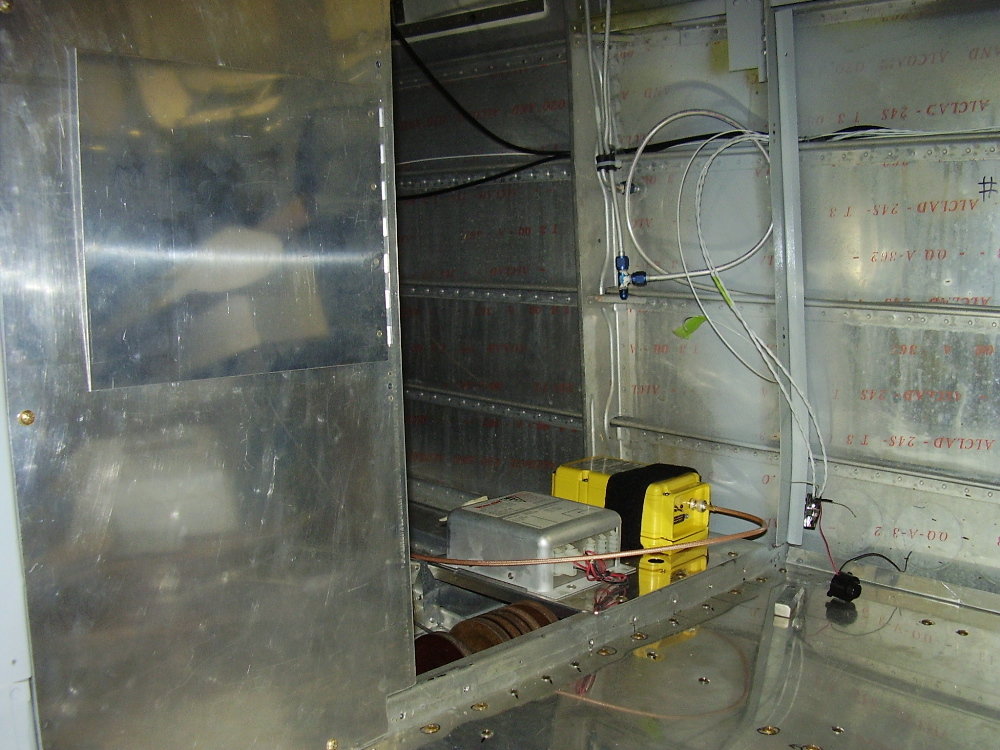
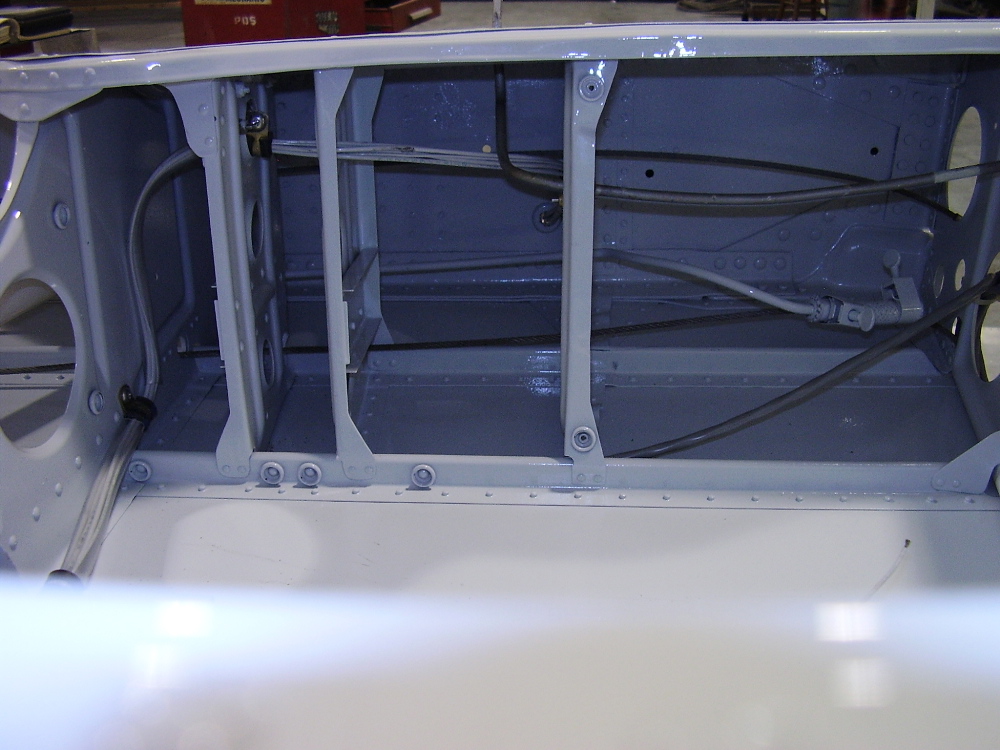
The 3-position strobe power supply and the 406 ELT were installed just aft of the baggage compartment. Also in the photo, note the door for the fishing pole tube in the right 1/3 of the back wall.
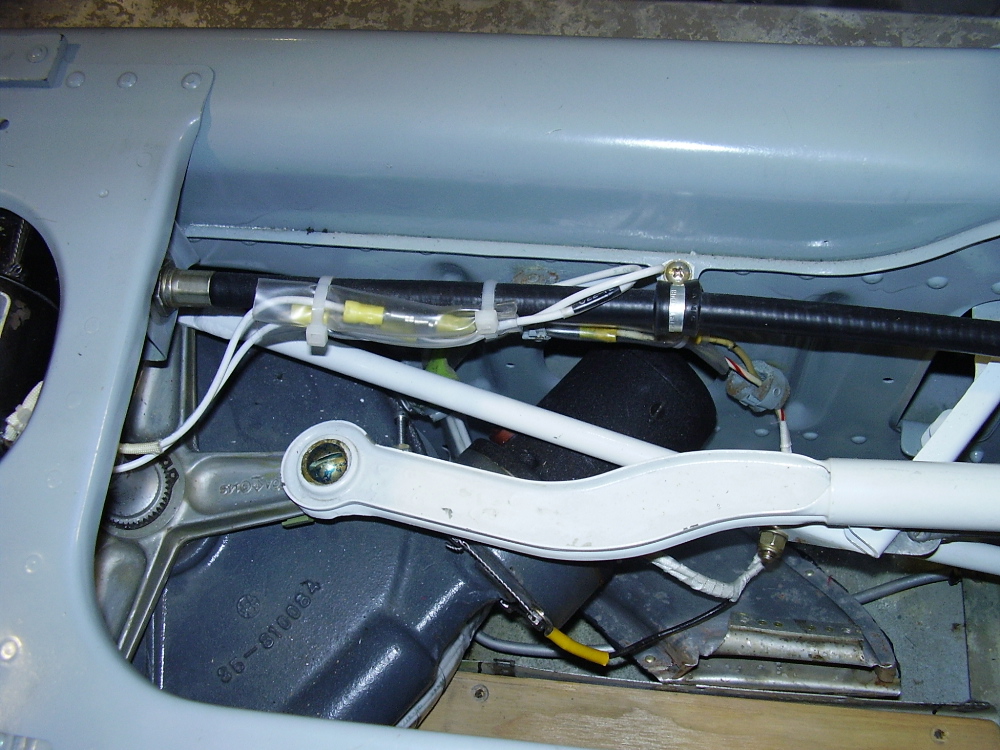
Landing gear and flap motor wiring details. Also, the transistorized instrument light dimming assembly is mounted below the seat.
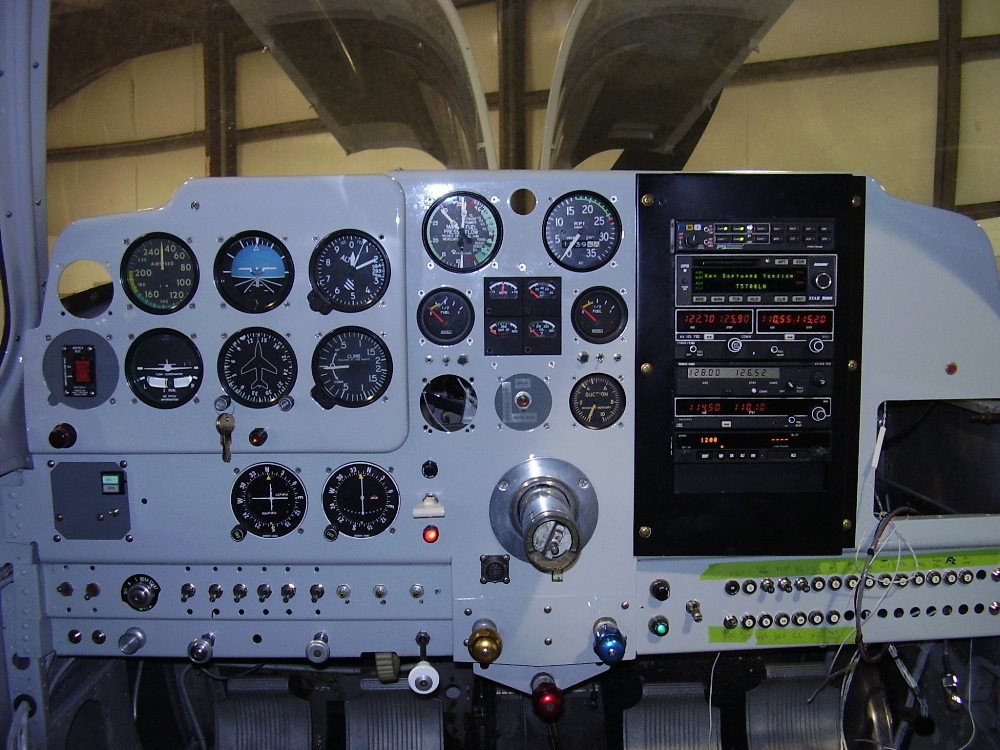
What a beautiful day it was to finally turn on the master switch!